PRP Treatment
Platelet Rich Plasma (PRP) Treatment
Background
Platelet Rich Plasma (PRP) therapy can be utilised for:
- Prevention of hair loss.
- Increasing or restoring hair density.
- Complementary therapy post hair transplant.
Policy & Procedure
- This policy is for all clinical team members – Doctors, nurses or technicians who have obtained the required competency to ensure the performance of phlebotomy before performing this procedure without supervision.
- A signed and approved consent form are necessary for the initiation of therapy. Please check this has been done prior to initiation.
- Explain procedure to subject again prior to initiation, obtain verbal consent.
- If you are unable to phlebotomise a subject after a thorough assessment and/or two attempts another clinician should be requested to assess and attempt.
- Lidocaine patch or Spray and Stretch may be used as a local anaesthetic prior to phlebotomy if desired by the patient.
- A new PRP set will be used for each attempt, consisting of single use –
- X1 10ml and X1 5ml syringe
- X2 21-guage needle
- x1 30-gauge needle
- x1 PRP tube
- Gauze
- PRP will be initiated after verification of subject ID – name and DOB with this being put onto PRP tube label once sample obtained. Ensure this ID matches that which is on patient record.
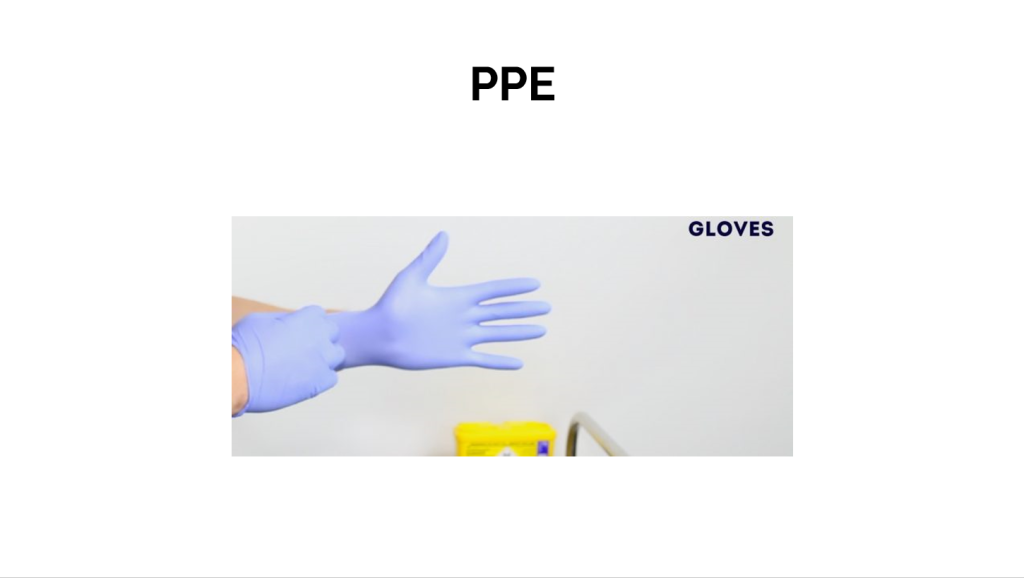
- Wash hands thoroughly or use hand sanitiser prior to putting on gloves.
- Apply tourniquet to arm from which phlebotomy will be done. Apply tightly enough to impede venous flow, without occluding arterial flow.
- Cleanse skin by cleaning with alcohol prep using aseptic technique starting from centre of proposed site and in a circular motion away from site for 30 seconds.
- Do not touch the prepped area with your fingers. If palpable reassessment of the vein needs to be done, re-prep the skin prior to venipuncture.
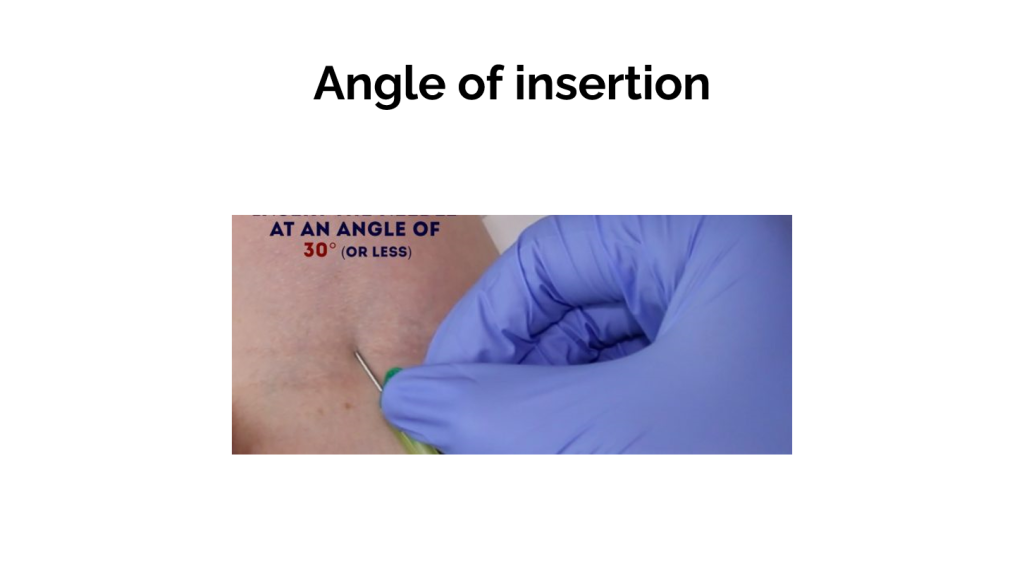
- Connect 21-gauge needle to 10ml syringe and then insert needle at the prepared site, ascertain blood “flash” in needle hub and then retract 7-8ml of blood.
- Remove tourniquet once sample obtained.
- Retract needle and apply a pressure dressing of sterile gauze for 30-60 seconds to stop any bleeding.
- Transfer sample to PRP tube and discard sharps safely into a sharps bin.
- Put PRP tube into centrifuge for at least 10 minutes at greater than 3500RPM.
- Remove and discard clinical gloves.
- Put on clinical gloves and remove PRP tube from centrifuge.
- Extract the plasma component generated from PRP tube with 21-gauge needle attached to 5ml syringe.
- Change to 30-gauge needle and ensure any air is expelled.
- Prep the scalp at the injection sites with an alcohol wipe using aseptic technique.
- Inject at subdermal level to aforementioned scalp sites, applying pressure with gauze to control any bleeding.
- Discard sharps into sharps bin and other items into clinical waste bin post completing treatment.
- After treatment has been completed
- ask the patient to remain in the chair and relax for a few minutes
- inspect the venepuncture site; if it is not bleeding, apply a plaster to the site; it it is bleeding, apply futher pressure
- ask the patient to sit up slowly and ask how the person is feeling
- before the patient leaves the donation room, ensure that the person can stand up without dizziness and without a drop in blood pressure
- offer the donor some refreshments
- Advise patient to wash hair at least 4 hours later, but there are no other restrictions.
- Ensure patient signs on the treatment as a confirmation the treatment was carried out correctly.
Phlebotomy Training Course Slides Intro

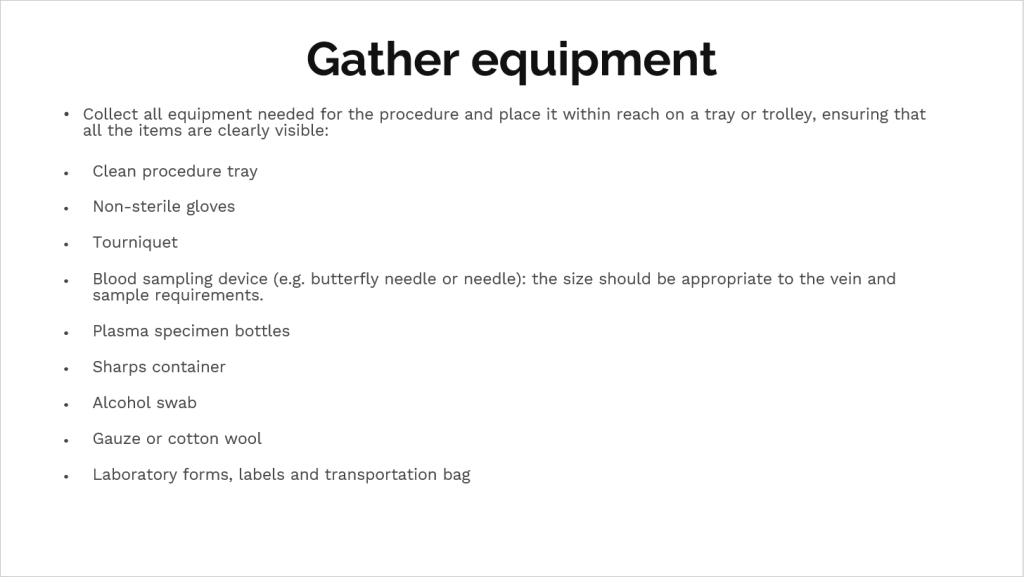
Gather Equipment
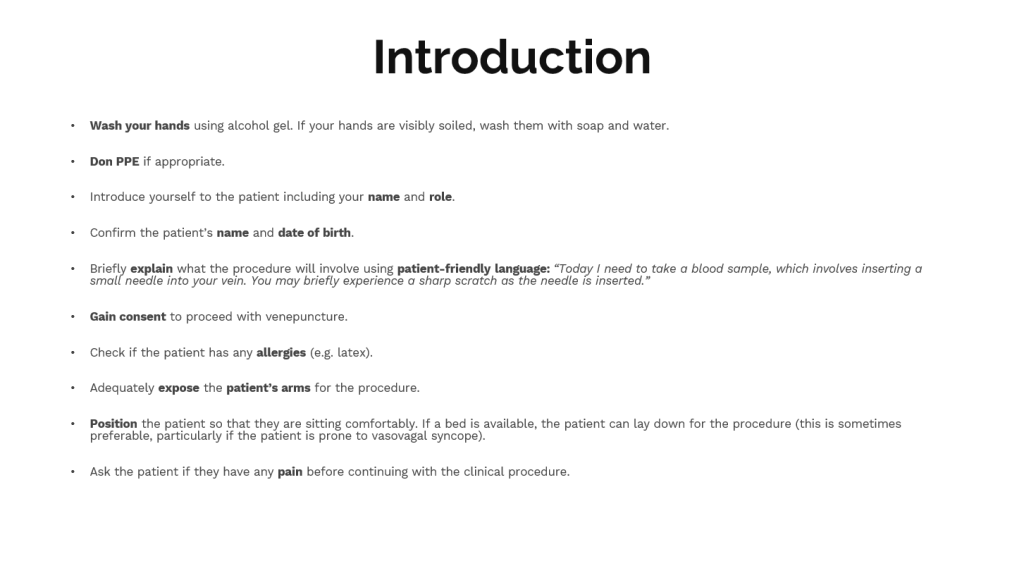
Phlebotomy Introduction
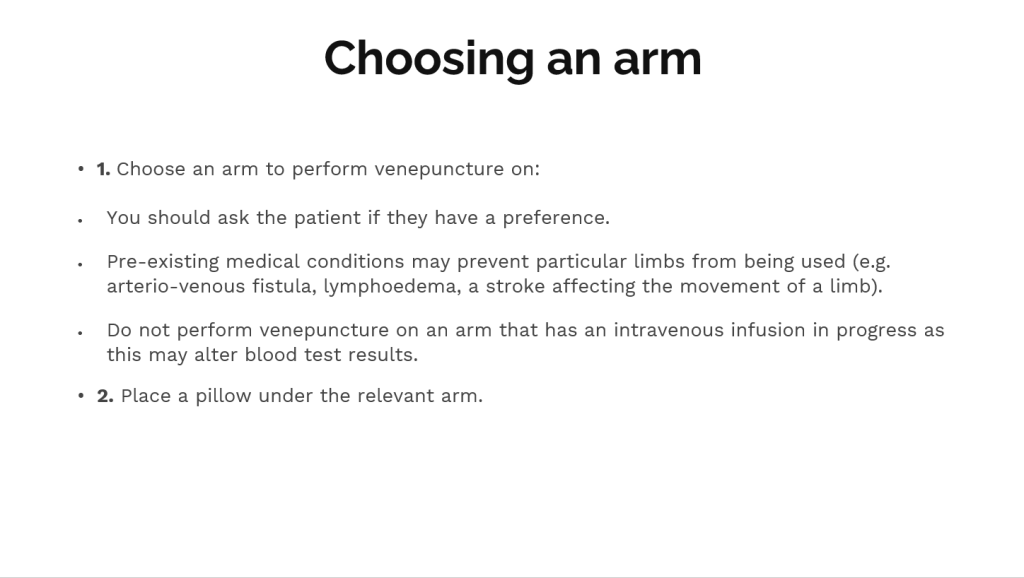
Phlebotomy – Choosing An Arm
Phlebotomy – Choosing A Vein (1)
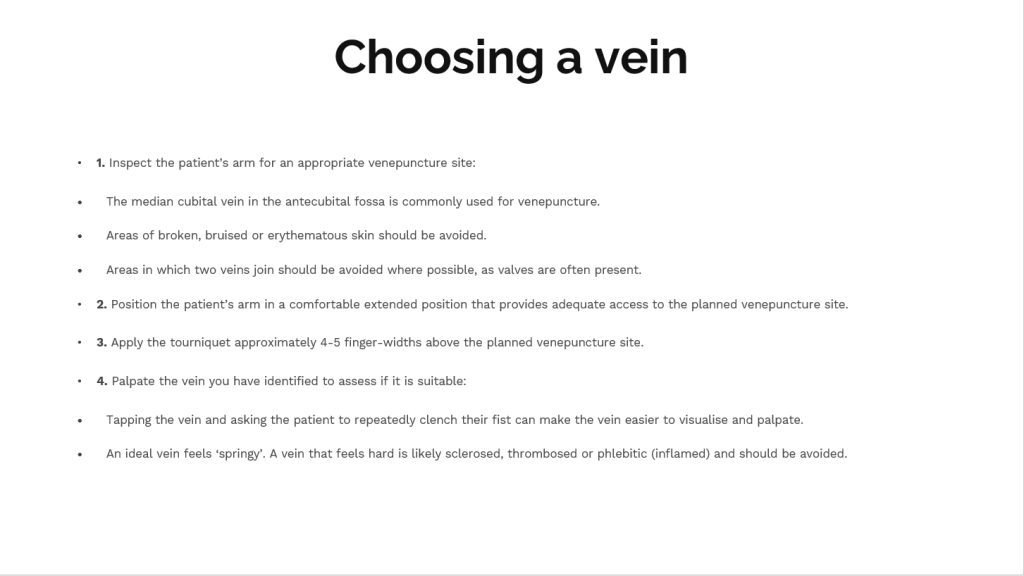
Phlebotomy – Choosing A Vein (2)
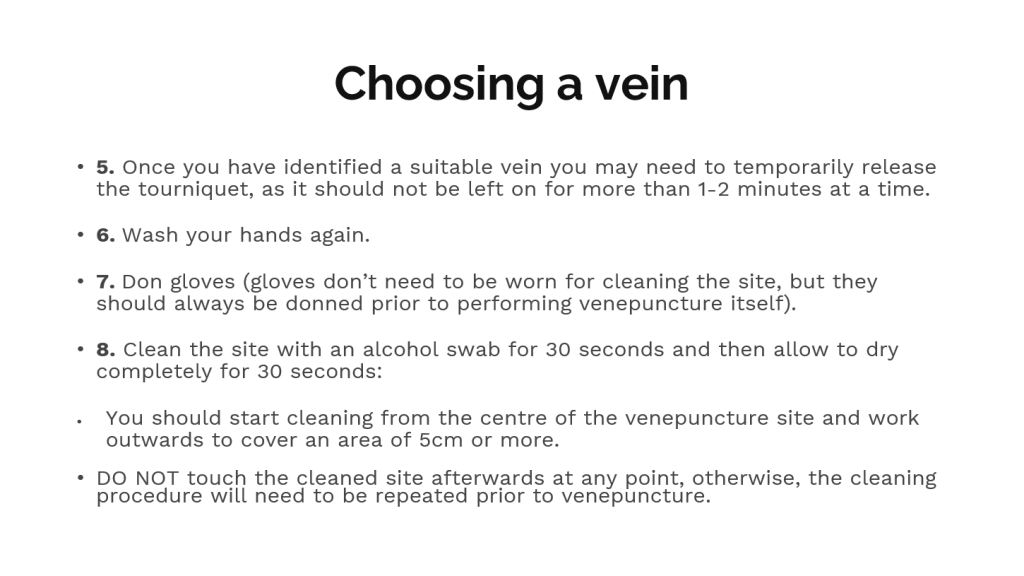
Vein Anatomy
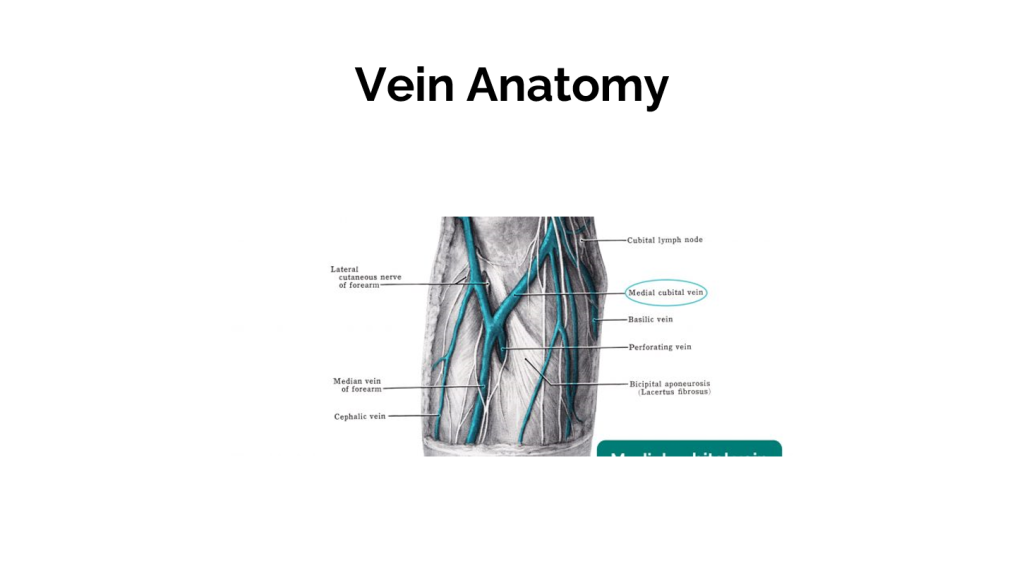
How To Apply Tourniquet
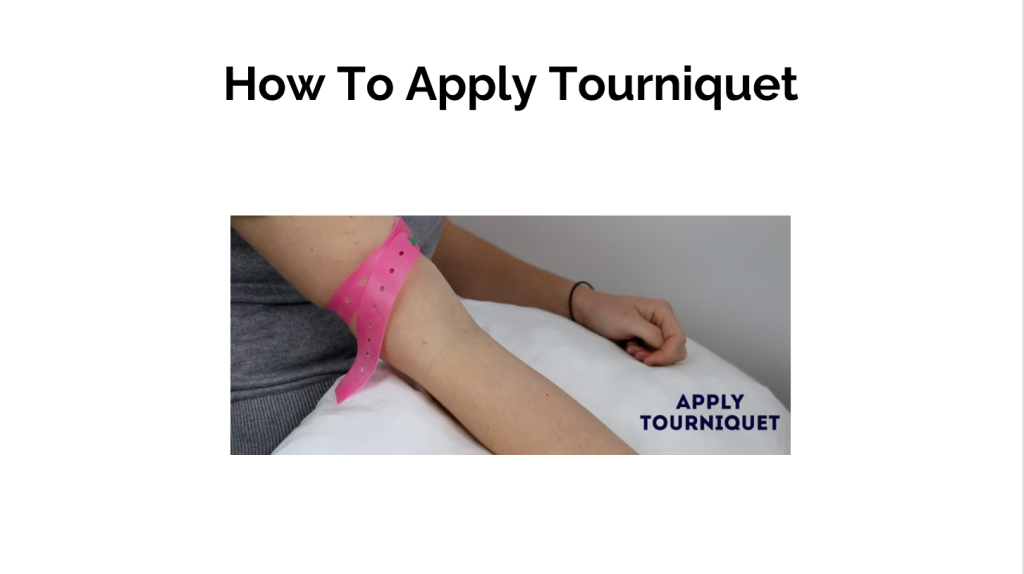
PPE
Phlebotomy – Insertion Of The Needle (1)
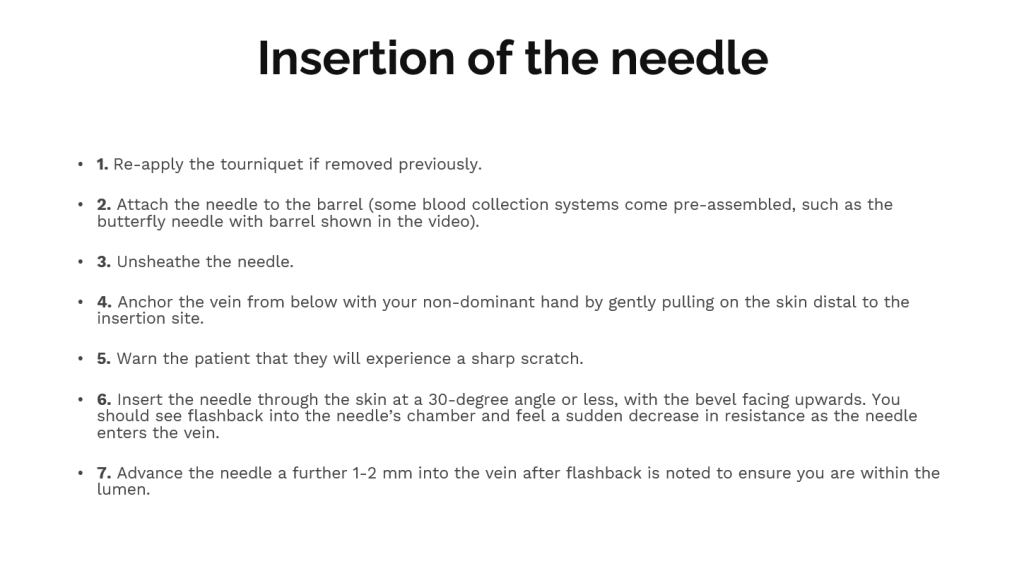
Phlebotomy – Insertion Of The Needle (2)
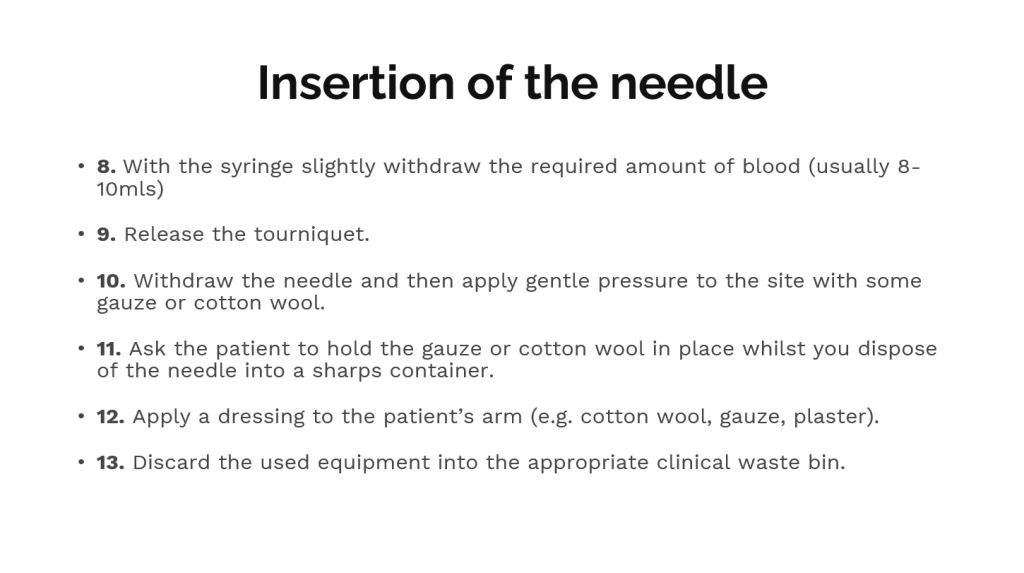
Positioning Of Needle Bevel
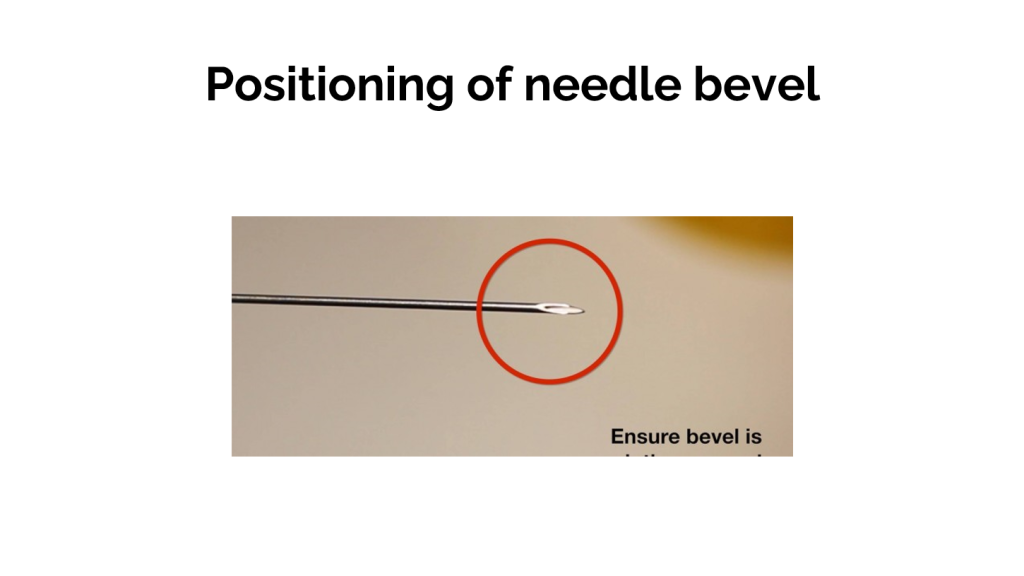
Angle Of Insertion
Completing The Procedure
Performing The Subcutaneous Injection – PRP/GFC -1
Performing The Subcutaneous Injection – PRP/GFC -2
Performing The Subcutaneous Injection – PRP/GFC -3
Venepuncture Sign Off